Streamlined three-tier loyalty program where every member enjoys the same high-quality rewards, with benefits escalating at each tier.
Simple yet effective, this program stands as the best deal for Eloking's boosting services, ensuring maximum value and satisfaction for all our users.
Cashback on all Eloking boosts (3%, 5%, 7%)
Discounts for all Eloking boosts (5%, 10%, 15%)
Discount for a friend 🤗
Free daily lootbox spin with industry-leading rewards
Member exclusive season and event offers
Here’s how you can 1v1 friends in CS2
j
Anthony King
Gamer
03 Feb 2026
Updated On
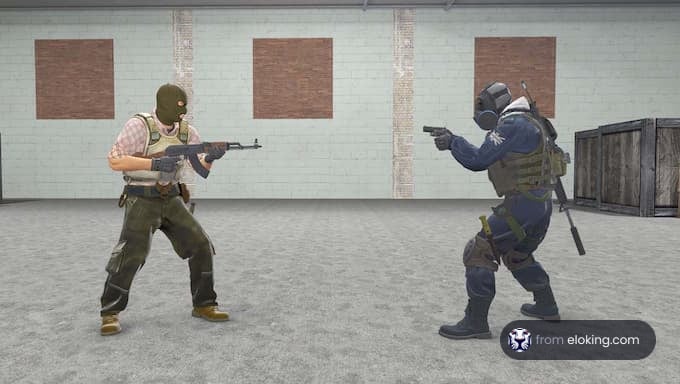
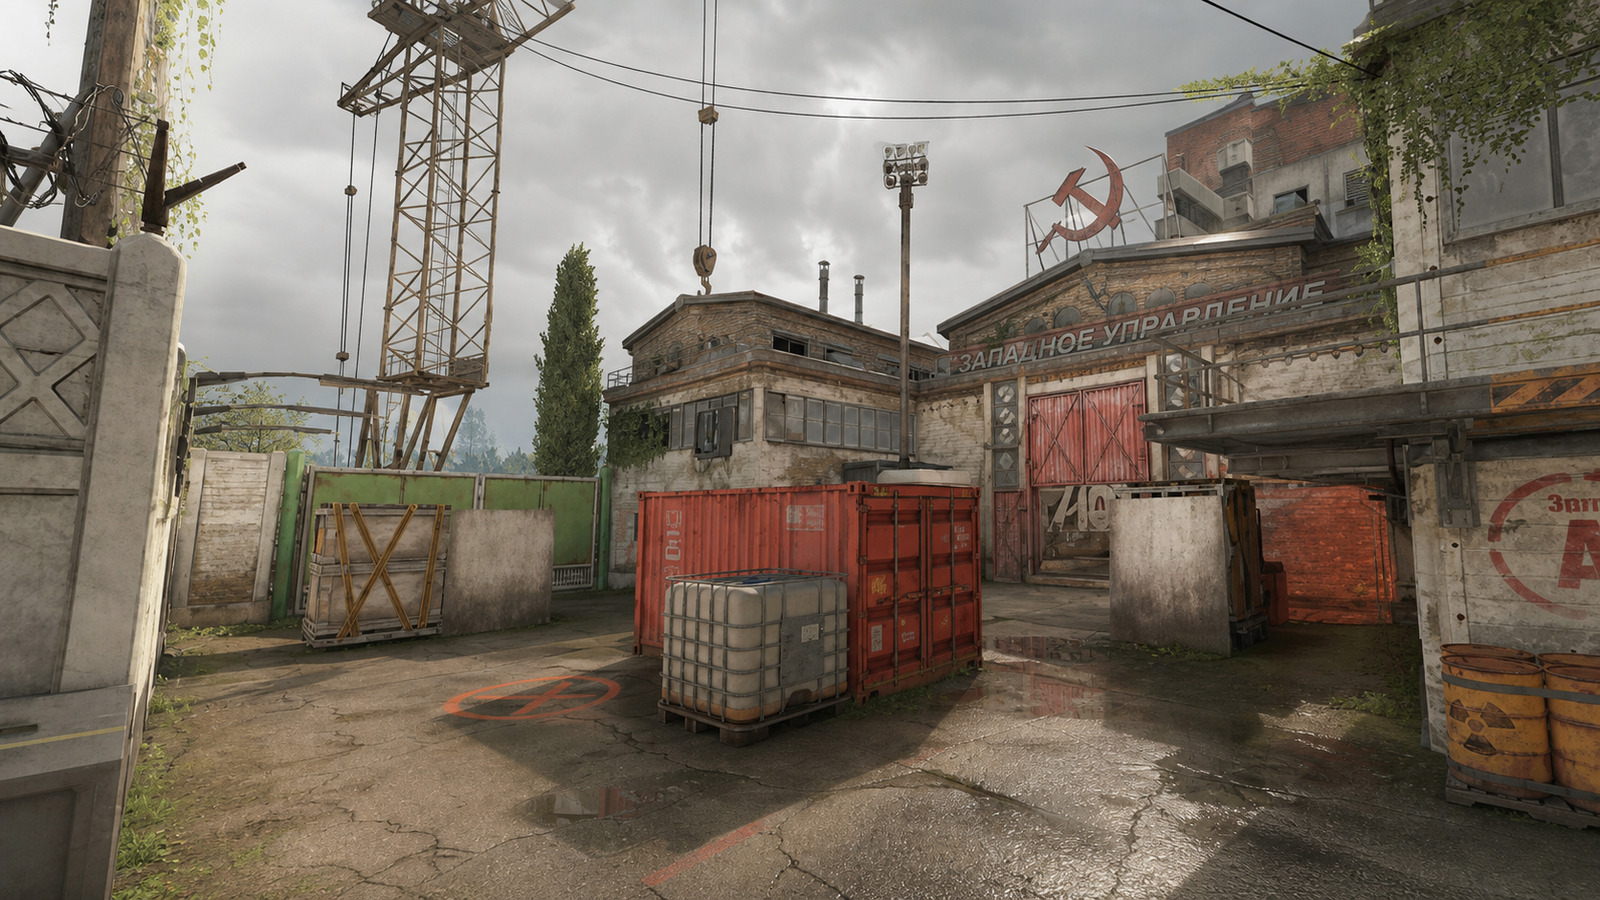
Counter-Strike 2 is largely a team-based game. Thanks to this, having a couple of friends around who you can play with whenever you hop on the game is a very good idea. However, sometimes players may want to see who’s better, even if they’re friends. This is where the age-old concept of 1v1 comes into play.
Today, we’re here to go through everything players need to know about 1v1-ing their friends in Counter-Strike 2. Naturally, this will delve into the port forwarding process as well as how you can create a 1v1 match in the game before explaining how the other player can join the created match.
So, without further ado, here’s how you can 1v1 your friends in CS2. If you want to ensure the next time you 1v1 someone you come out on top, we highly recommend you start playing with a professional CS2 booster from Eloking. Not only will your individual skill level shoot up, but so will your rank. You can even use the code “BoostToday” to get an easy 20% discount on your order.
How can someone 1v1 with their friend in Counter-Strike 2?
While creating a 1v1 match against friends in Call of Duty games is as easy as can be, the same can’t be said for Counter-Strike 2. Fortunately, creating a 1v1 lobby is still more than doable, though players can expect to have to put in some work for that to happen.
We divided how you can 1v1 someone into three basic steps that are listed below:
Start with port forwarding
Create a 1v1 session
Have the second player join the host
With that being said, below is a detailed explanation for how you can 1v1 in CS2.
Struggling to win? Bad teammates?
Purchase a game with one of our PRO players.
One game
Average wait time <30 minutes
$4.00
$3.32 per game
Two games
Average wait time <30 minutes
$8.00
$3.00 per game
Three games
Average wait time <30 minutes
$12.00
$2.50 per game
Start with port forwarding
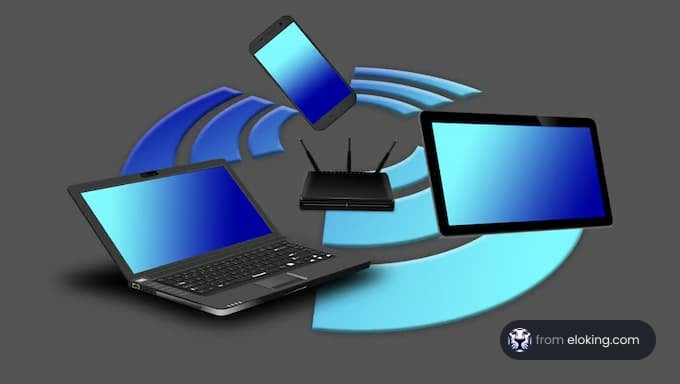
Port forwarding is essential to hosting 1v1 matches with friends in Counter-Strike 2. It lets users connect to the host’s private network, allowing them to join games. Before we start, it’s worth noting that not all routers have port forwarding, so ensure the device has it.
Here’s how to set it up:
Open the Command Prompt as administrator by searching for it on the Windows search bar and right-clicking it.
Type ipconfig and hit enter to find the system’s network configuration.
Find the Default Gateway and IPv4 Address of the active network connection.
Copy the Default Gateway, paste it into the browser’s address bar, and press enter to go to the router login page.
Enter the router’s login details. (If the person doesn’t know, they can check the router itself to find the default username and password or ask their ISP for it)
Find the Port Forwarding section. It’s usually under Advanced Networking, Security, or Firewall.
Paste the IPv4 Address from earlier into the text box.
Change the protocol to TCP and UDP.
Enter 27015 in the WAN Starting Port and WAN Ending Port fields. This option can also be called the Internal Port.
Apply and save the changes.
Time to create a 1v1 match in Counter-Strike 2
Here’s how players can create a 1v1 match in Counter-Strike 2 after configuring their router settings:
Start Counter-Strike 2, and enable the developer console. Players can open the console by going to the settings menu and selecting the “Enable Developer Console” option.
Press the play button.
Click on the Workshop Maps button and then press Visit Workshop.
Pressing the Visit Workshop button will lead the player to the Steam browser, where they can search for numerous community content, including 1v1 maps.
The user must look for whatever 1v1 map they want and then press the subscribe button on its page to download it.
After downloading the map, players can select it from the Workshop Map menu and press GO.
If the game prompts you to select a mode, choose the custom option if it's available.
Once the game loads, go to the developer console and type bot_kick to remove every bot from the match.
Have the second player join the host
With the server ready, all that’s left is for the second player to join the host. Here’s how they can join the host:
The host must share their IP address with their friend. Players can find their IP address by visiting websites like whatismyipaddress.com or ipchicken.com and looking at the IPv4 address.
With the IP address, the friend must open the game and the developer console.
Type connect “IP address”, replacing the “IP address” with the host’s address. It should look something like “connect 119.xx.xxx.xxx”.
The friend will join the host by typing the command and hitting enter. If they don’t have the same map as the host, the game will automatically download it and join the game.
FAQs
You'll need to use port forwarding, create a 1v1 session in a workshop map, and then have your friend join via your IP address through the developer console.
Port forwarding allows your friend to connect to your private network, which is essential for joining a custom 1v1 game you've hosted.
You need to forward port 27015 using both TCP and UDP protocols in your router's settings.
They need your public IPv4 address and must use the 'connect [your IP address]' command in the developer console to join.
You can find 1v1 maps in the Steam Workshop. Search for '1v1' and subscribe to download the map to CS2.
What’s next?
Now that you have learned something new about Counter-Strike - it’s time you start playing and get better at the game. We can help!
Purchase Eloking CS2 Boost right now
and start playing at the rank you deserve!