Streamlined three-tier loyalty program where every member enjoys the same high-quality rewards, with benefits escalating at each tier.
Simple yet effective, this program stands as the best deal for Eloking's boosting services, ensuring maximum value and satisfaction for all our users.
Cashback on all Eloking boosts (3%, 5%, 7%)
Discounts for all Eloking boosts (5%, 10%, 15%)
Discount for a friend 🤗
Free daily lootbox spin with industry-leading rewards
Member exclusive season and event offers
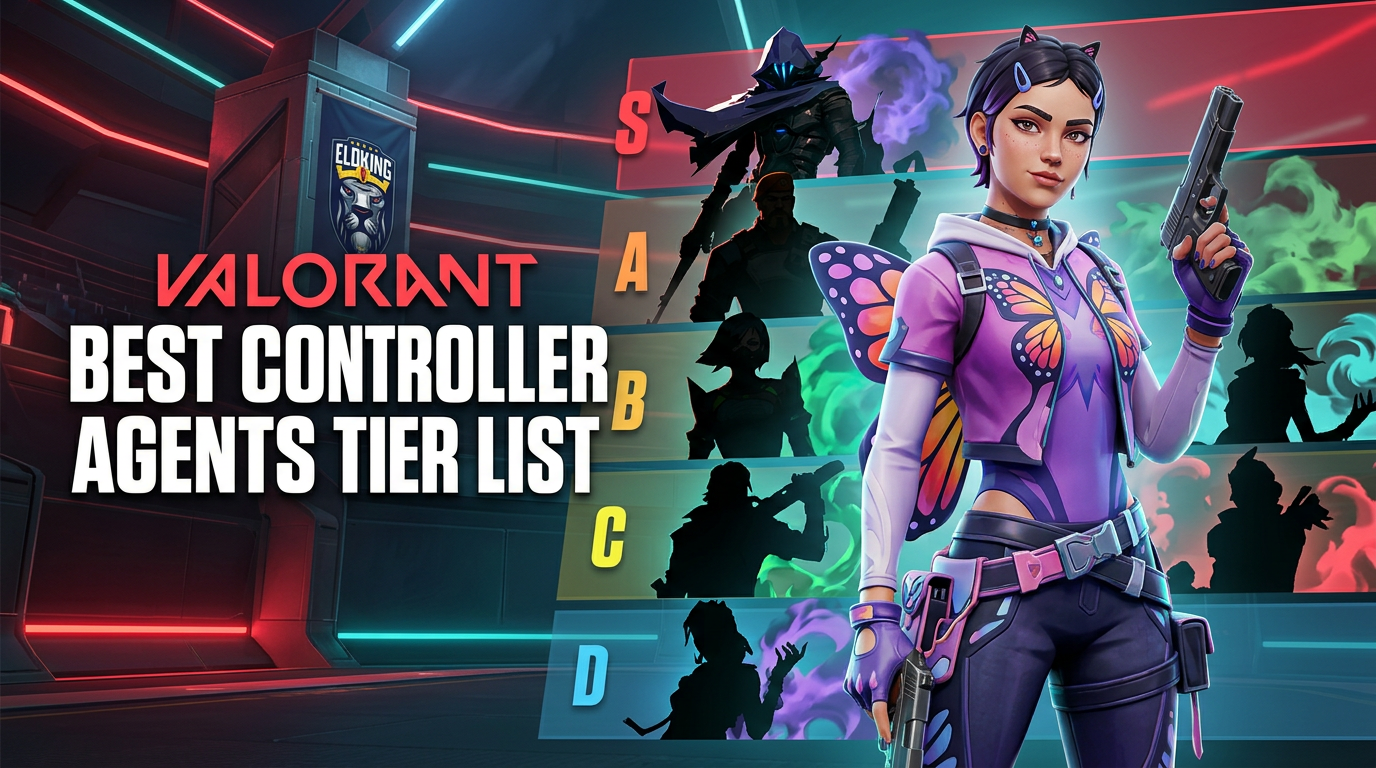
Best Sage Fracture Lineups
j
Anthony King
Gamer
03 Feb 2026
Updated On
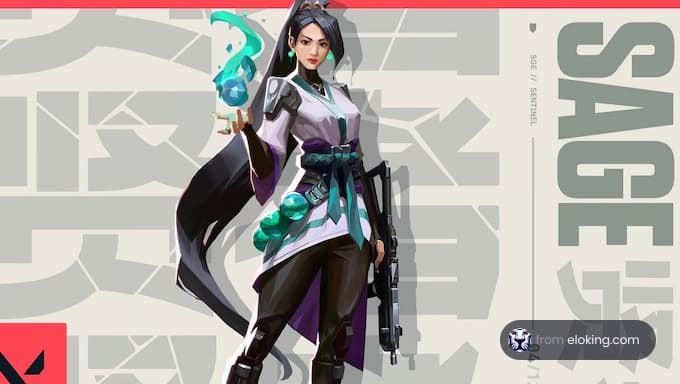
Sage emerges as a top-tier agent when it comes to crafting strategic setups with her utility on various maps, and the significance of her Barrier Orbs cannot be overstated. However, haphazardly placing these orbs may not yield the desired impact. Therefore, understanding optimal Sage wall lineups is crucial, particularly on a map like Fracture.
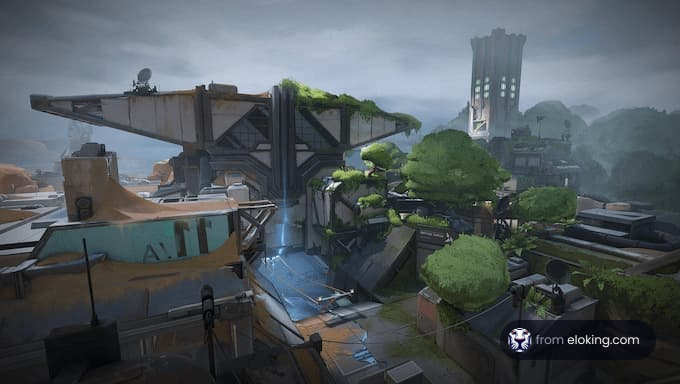
In today's discussion, our focus shifts to Fracture, as we've previously covered a similar guide for the Fracture map. Fracture's intricate design demands a keen strategic mind and precise execution, and Sage's role becomes pivotal in influencing the outcome of rounds. With her ability to manipulate engagements and provide valuable support to teammates, Sage stands as an indispensable agent on this map.
For those seeking insight into the most effective Sage lineups on Fracture, both for the A and B bombsites, read on. Mastery of these lineups is key to maximizing Sage's impact on the battlefield. Consider engaging with a professional Valorant coach from Eloking to refine your skills further, and enjoy a 20% discount by using the code "BoostToday" when utilizing their services.
Sage's Potential for Fracture
Sage's utility in Fracture extends far beyond her healing abilities, as her toolkit proves exceptionally valuable in navigating the complex terrain of this distinctive map. Fracture's verticality and multiple pathways create an environment where precise control and strategic hindrance are paramount, and Sage excels in both aspects. As a matter of fact, Sage also has excellent lineups on other maps like Pearl and Ascent.
Her Barrier Orb, when strategically placed, can reshape the battlefield by blocking crucial chokepoints, disrupting enemy advances, and buying precious moments for her team. Additionally, Sage's healing abilities become even more critical on Fracture, where engagements can occur from unexpected angles, and swift recovery can make the difference between a successful defense and a breach by the attackers.
In essence, Sage's versatility in providing support, control, and healing makes her an indispensable asset for any team looking to navigate the challenges presented by the fractured landscapes of Fracture. You can learn how to best utilize Sage and her utilities by hiring a professional Valorant coach from Eloking by using the code "BoostToday" for a 20% discount.
Struggling to win? Bad teammates?
Purchase a game with one of our PRO players.
One game
Average wait time <30 minutes
$4.00
$3.32 per game
Two games
Average wait time <30 minutes
$8.00
$3.00 per game
Three games
Average wait time <30 minutes
$12.00
$2.50 per game
Sage Lineups for A Site on Fracture
1. A-Main Area
Securing the A-site on Fracture demands meticulous planning and precise execution. Sage's Barrier Orb becomes a crucial asset in controlling A-Main, allowing defenders to strategically divert enemy attention and gain a significant advantage.
To pull off this wall lineup:
Begin by positioning yourself in a safe spot within the A-site, ideally near A-Main. Ensure that you have a clear line of sight to the desired Barrier Orb placement area.
Deploy your Barrier Orb in the A-Main area. Aim for a position that effectively obstructs the corridor leading into the site.
The A-Main lineup is designed to create a temporary roadblock for attackers, disrupting their flow and allowing defenders to regroup. By strategically placing the Barrier Orb, Sage offers her team a valuable window of opportunity to gain control of the A-site. This lineup is particularly effective when paired with coordinated team play and can be a game-changer in thwarting aggressive pushes through A-Main.
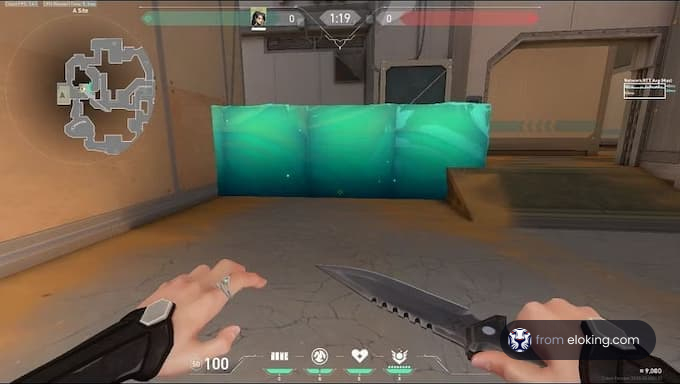
2. A-Drop Area
Controlling the A-Drop area is pivotal in preventing enemies from exploiting alternate routes onto the A-site. Sage's Barrier Orb, when strategically placed, can completely block one entrance, funneling opponents into a more manageable direction for defenders.
To pull off this wall lineup:
Position yourself near the A-Drop area, ensuring you have a clear understanding of enemy movements and potential threat locations.
Deploy the Barrier Orb to block the A-Drop entrance effectively. Aim for a position that denies opponents easy access to this route, forcing them to confront defenders head-on.
The A-Drop lineup transforms Sage into a gatekeeper, controlling the flow of enemy traffic onto the A-site. By strategically placing the Barrier Orb, Sage limits the attackers' options and sets the stage for a more focused defense. This lineup shines in scenarios where defenders need to manage multiple entry points, providing a tactical advantage in the chaos of A-site engagements on Fracture.
Sage Lineups for B Site on Fracture
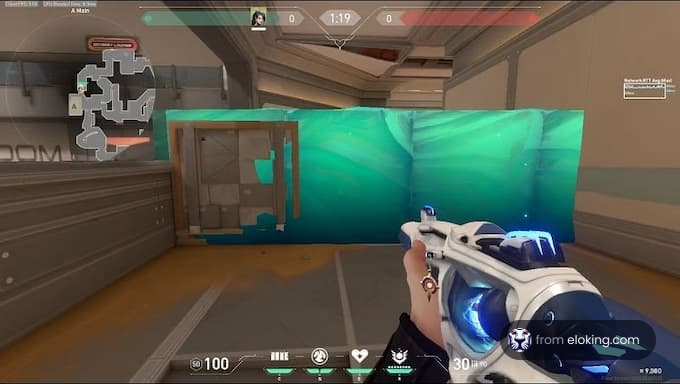
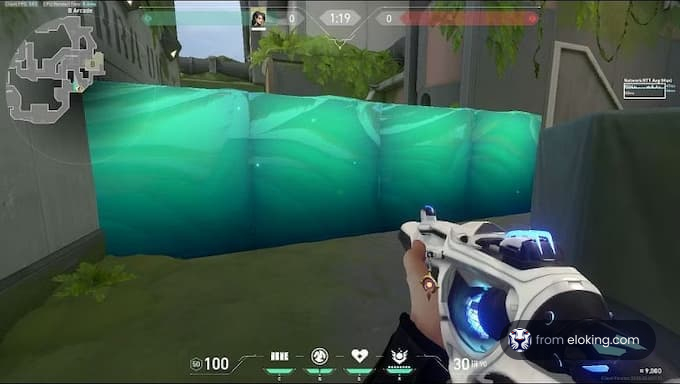
1. B-Arcade Area
The B-Arcade area on Fracture serves as a crucial battleground, and Sage's Barrier Orb can be a game-changer in controlling the pace of engagements. Here's a lineup that strategically slows down opponents approaching from the B-Bench area.
To pull off this wall lineup:
Begin by positioning yourself near the entrance of B-Arcade, ensuring you have a clear line of sight to the targeted area.
Use Sage's Barrier Orb to create a sturdy obstacle in the B-Arcade, obstructing the path of enemies attempting to breach from the B-Bench.
Aim the Barrier Orb carefully to cover the desired section effectively.
The strategic placement of Sage's Barrier Orb in the B-Arcade area serves two primary purposes. Firstly, it hinders the speed of opponents pushing from the B-Bench, disrupting their intended flow and giving defenders a valuable window to respond. Secondly, the Barrier Orb can create a temporary bottleneck, making it easier for your team to focus fire and eliminate threats systematically.
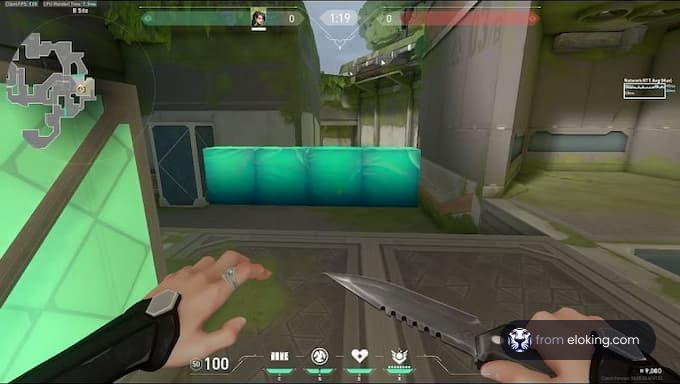
2. Default
Defending the B-site on Fracture requires careful planning, and Sage's Barrier Orb can be a linchpin in securing a robust defense. The Default lineup is a common yet effective placement that denies opponents easy access from the B-Tree area.
To pull off this wall lineup:
Station yourself in a strategic position near the entrance of B-Site, ensuring visibility to the B-Tree area.
Deploy Sage's Barrier Orb to block the path from B-Tree effectively. Aim for a placement that covers the intended section, preventing enemies from advancing through this route.
The Default lineup on B-Site provides a solid defense by cutting off the B-Tree route. This forces opponents to either find alternative paths or engage with the defenders head-on. The Barrier Orb creates a barrier that can disrupt enemy strategies, giving defenders an upper hand in controlling the tempo of the round. Proper execution of this lineup enhances the overall defensive capabilities of Sage and the team on Fracture's B-Site.
FAQs
Sage can use her Barrier Orb to block off A-Main, disrupting attackers and allowing defenders to regroup. Alternatively, she can block A-Drop to control enemy flow.
Position yourself near the B-Arcade entrance and use Sage's Barrier Orb to obstruct the path of enemies attempting to breach from B-Bench. This slows down their advance.
Sage's wall can reshape the battlefield by blocking chokepoints. Her healing abilities are also critical because engagements can occur from unexpected angles on Fracture.
What’s next?
Take your Valorant gameplay to the next level and climb the ranks with ease - buy Valorant boost now!
Purchase Valorant Boost
and start playing at the rank you deserve!