Streamlined three-tier loyalty program where every member enjoys the same high-quality rewards, with benefits escalating at each tier.
Simple yet effective, this program stands as the best deal for Eloking's boosting services, ensuring maximum value and satisfaction for all our users.
Cashback on all Eloking boosts (3%, 5%, 7%)
Discounts for all Eloking boosts (5%, 10%, 15%)
Discount for a friend 🤗
Free daily lootbox spin with industry-leading rewards
Member exclusive season and event offers
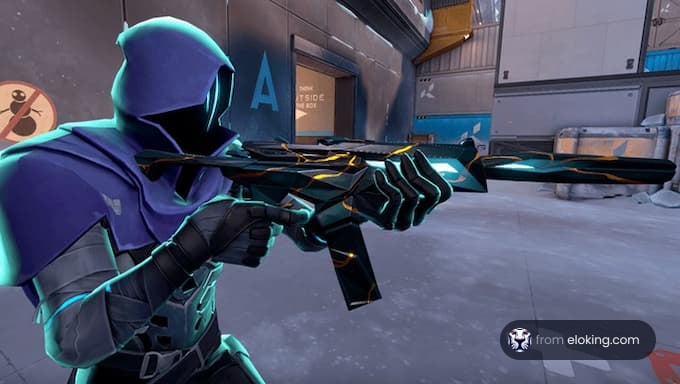
Best Sage Pearl Lineups
j
Anthony King
Gamer
03 Feb 2026
Updated On
Sage is easily one of the best agents to use if your goal is to make setups using your agent's utilities. However, the fact of the matter is that if you just throw her barrier orb anywhere then you won't really be able to make a difference. Therefore, it's important to know about some of the best Sage wall lineups, especially for a map like Pearl.
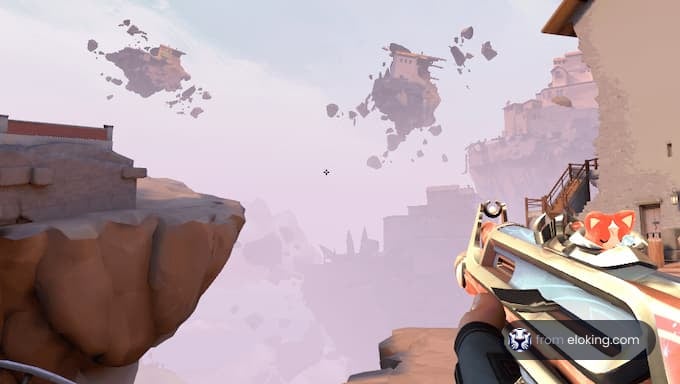
Today, we'll be focusing on the Pearl map as we've already made a similar guide for the Ascent map. Pearl is a map that demands strategic prowess and precise execution, and Sage can play a pivotal role in shaping the outcome of rounds. With her ability to control engagements and provide support to teammates, Sage becomes an essential agent on this map.
So, if you want to know some of the best Sage lineups on Pearl for both A and B bomb then keep reading. If you want to ensure you can use all of these lineups perfectly then it might be a good idea to have a professional Valorant coach from Eloking show you the ropes. What's more, you can use this service with a 20% discount if you use the code "BoostToday".
Sage's Potential on Pearl
Sage's utility on the Pearl map is unparalleled, making her an indispensable asset for any team looking to secure victory. Unlike Sova with his Pearl lineups, Sage's ability to manipulate engagements and control key choke points provides defenders with a significant advantage.
Whether it's blocking off A Main to thwart aggressive pushes or creating elevated positions near A Dugout to catch attackers off-guard, Sage's Barrier Orb and Wall abilities enable a versatile defense strategy. Additionally, on the B Site, Sage's Barrier Orb becomes a formidable tool in denying entry through B Main, disrupting the attackers' plans and forcing them to reevaluate their approach.
The B Site boost spot further showcases Sage's adaptability, allowing defenders to gain crucial sightlines and maintain control over B Ramps. In essence, Sage's presence on the Pearl map not only bolsters the team's defensive capabilities but also introduces a strategic depth that can turn the tide of rounds in favor of the defenders.
Struggling to win? Bad teammates?
Purchase a game with one of our PRO players.
One game
Average wait time <30 minutes
$4.00
$3.32 per game
Two games
Average wait time <30 minutes
$8.00
$3.00 per game
Three games
Average wait time <30 minutes
$12.00
$2.50 per game
Best Sage A Site Lineups
With her ability to control engagements and provide support to teammates, Sage becomes an essential agent on this map. Here, we delve into detailed strategies for Sage on the A site, focusing on two distinct wall setups.
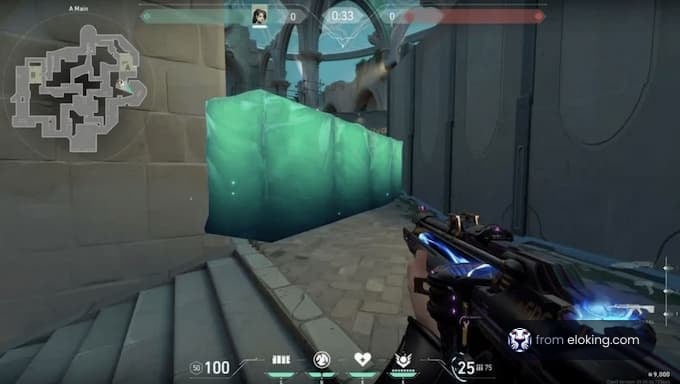
1) A Main Wall
A Main is a crucial avenue for attackers attempting to breach the A site. Sage's Barrier Orb can be a game-changer in controlling the flow of the game by creating a wall that not only obstructs the enemy's path but also strategically alters their approach.
To pull off this wall lineup:
As Sage, find a safe location near A Main that allows you to quickly respond to enemy movements.
Deploy the Barrier Orb before the ultimate orb location. This ensures a safer setup, as attackers rushing in won't be able to prevent the wall from going up.
For a riskier but potentially rewarding move, place the wall past the ultimate orb to secure it. This not only grants your team the benefit of the orb but also provides a positional advantage for defenders.
The primary objective of this A Main wall setup is to control the engagement distance. By strategically placing the Barrier Orb, Sage disrupts the typical attacker approach, forcing them to either navigate around the wall or find alternative routes. This setup allows defenders to dictate the pace of the round, creating opportunities for well-coordinated counter-attacks.
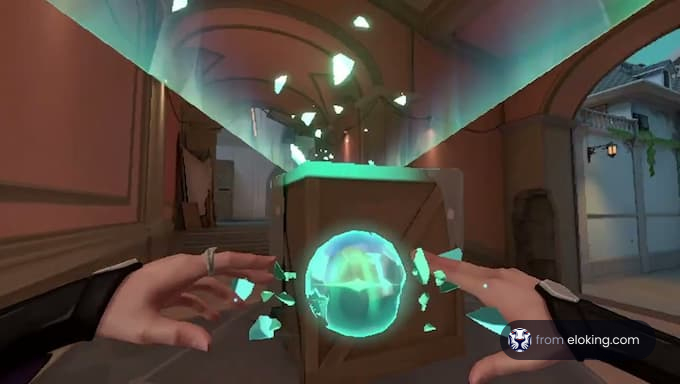
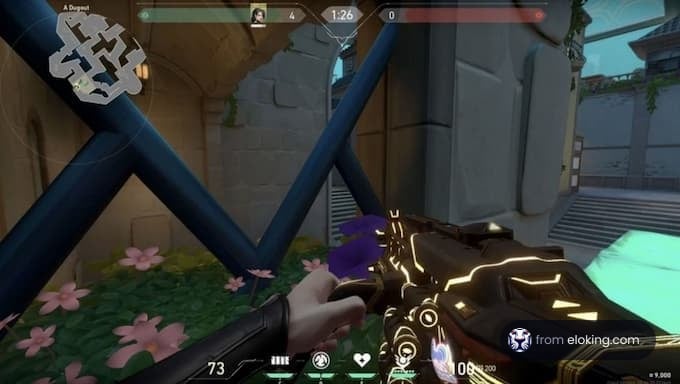
2) Ledge near A Dugout
The ledge near A Dugout offers a unique vantage point for Sage to showcase her Barrier Orb prowess. This setup involves climbing onto the ledge and creating a wall that provides both cover and a strategic advantage for defenders.
To pull off this wall lineup:
Navigate to A Site and climb onto the ledge near A Dugout. This elevated position grants you a unique perspective on the approaching attackers.
Orb Placement: Deploy the Barrier Orb to create a wall that not only obstructs enemy vision but also allows your teammates to peer through the tiny window on the left.
This A Dugout wall setup is a more intricate play that can catch attackers off-guard. By utilizing the elevated position, Sage enables her team to gain information on enemy movements while remaining relatively safe from direct confrontation. This adds a layer of complexity to the defensive strategy, making it challenging for attackers to predict and counter the setup.
Best Sage B Site Lineups
With the A site lineups gone through it's time to go through two of the best B site lineups you can use as Sage on the Pearl map. Since these look easier than they really are, the option to hire a professional coach from Eloking by using the code "BoostToday" for a 20% discount is always there for you.
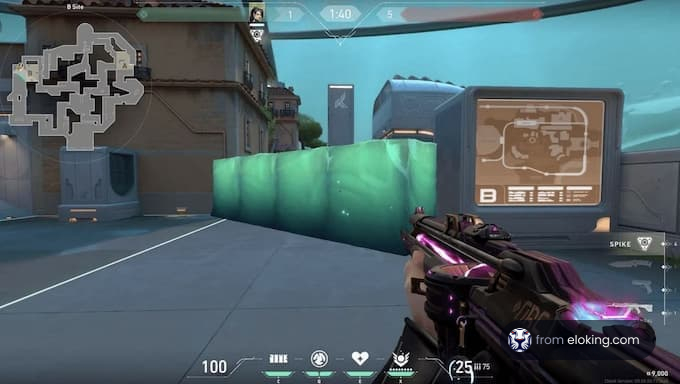
1) B Screen Wall
The B Screen Wall lineup is a strategic play that can disrupt attackers attempting to breach the B Site through B Main. Sage's Barrier Orb becomes a powerful tool in creating a defensive barrier that denies easy access to the site.
To pull off this wall lineup:
Move to a safe spot near B Screen where you have a clear line of sight to B Main.
Aim the Barrier Orb at a specific angle, ensuring it covers the entrance from B Main. The objective is to create a solid wall that forces attackers to find alternative routes.
This lineup is effective because it hinders the common path of attackers, forcing them to either break the wall or choose a different route. Defenders can capitalize on this disruption by holding strategic positions and picking off attackers who may be disoriented or attempting to breach through other entrances.
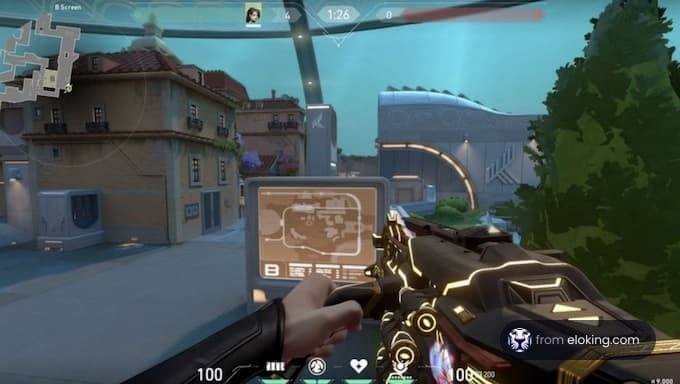
2) B Site Boost Spot
The B Site Boost Spot is a versatile Sage lineup that involves using the Barrier Orb to gain elevation near B Screen. This allows Sage to spot enemies pushing from B Ramps, providing valuable information to the defending team.
To pull off this wall lineup:
Navigate to the corner of B Screen where you intend to create the boost spot.
Utilize the Barrier Orb to boost yourself slightly, creating a wall that not only offers cover but also grants an elevated vantage point.
This lineup provides defenders with a unique advantage by offering a concealed position with heightened visibility. Sage can spot enemies early, relay critical information to teammates, and potentially disrupt enemy pushes with well-timed abilities. The element of surprise from this elevated position can catch attackers off guard, giving defenders a strategic edge.
FAQs
Sage can use her Barrier Orb at A Main to control the engagement distance or on the ledge near A Dugout for a unique vantage point and cover.
Deploy the Barrier Orb before the ultimate orb location for a safer setup. For a riskier play, wall past the ultimate orb to secure it and gain a positional advantage.
Sage's Barrier Orb can deny entry through B Main, disrupting attackers. The B Site boost spot also allows defenders to gain crucial sightlines and control over B Ramps.
What’s next?
Take your Valorant gameplay to the next level and climb the ranks with ease - buy Valorant boost now!
Purchase Valorant Boost
and start playing at the rank you deserve!