Streamlined three-tier loyalty program where every member enjoys the same high-quality rewards, with benefits escalating at each tier.
Simple yet effective, this program stands as the best deal for Eloking's boosting services, ensuring maximum value and satisfaction for all our users.
Cashback on all Eloking boosts (3%, 5%, 7%)
Discounts for all Eloking boosts (5%, 10%, 15%)
Discount for a friend 🤗
Free daily lootbox spin with industry-leading rewards
Member exclusive season and event offers
Marvel Rivals: Best controller settings and sensitivity
h
Hamza Rashid
Gamer
03 Feb 2026
Updated On
Marvel Rivals [1] is the newest hero shooter on the market and it’s attracting countless players worldwide. From PC players to console gamers, it’s as though everyone is jumping on the Marvel Rivals train to play as Iron Man or Jeff the Shark. However, those playing the game using a controller need all the advantages they can get, especially in lobbies against PC players.
While it's tough to determine the best settings or sensitivity for a player, the professional Marvel Rivals players usually use the same settings. These include a cursor sensitivity of 130, vibrations off, horizontal sensitivity of 180, vertical sensitivity of 100, and similar settings.
So, without further ado, here are the best controller settings in Marvel Rivals. If you want a high-ranked player to help you find the best settings for you then you can always hire one from Eloking.
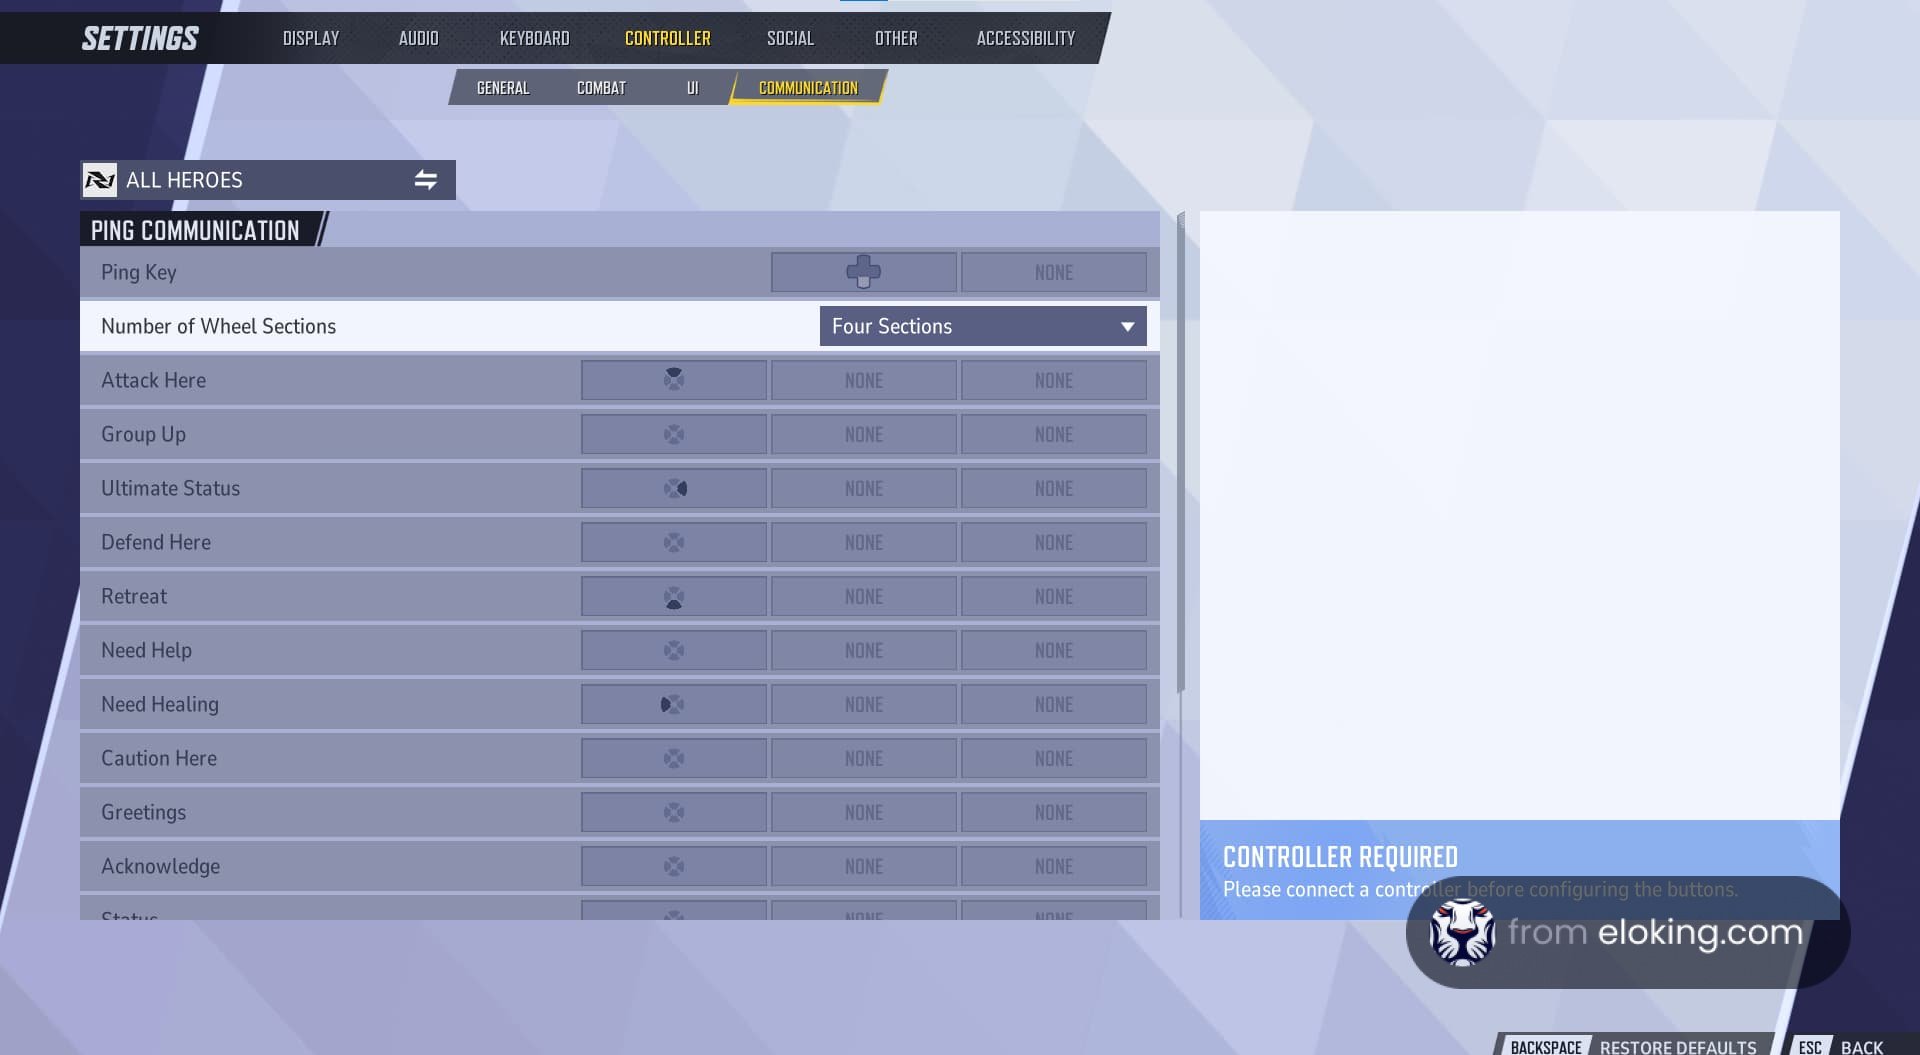
Best Marvel Rivals general settings for controller
Marvel Rivals is about precision and teamwork, so nailing your controller settings can make a big difference. You’ll have the edge to crush the opposition with the correct tweaks. Here's a quick guide to help you optimize your setup.
Struggling to win? Bad teammates?
Purchase a game with one of our PRO players.
One game
Average wait time <30 minutes
$4.00
$3.32 per game
Two games
Average wait time <30 minutes
$8.00
$3.00 per game
Three games
Average wait time <30 minutes
$12.00
$2.50 per game
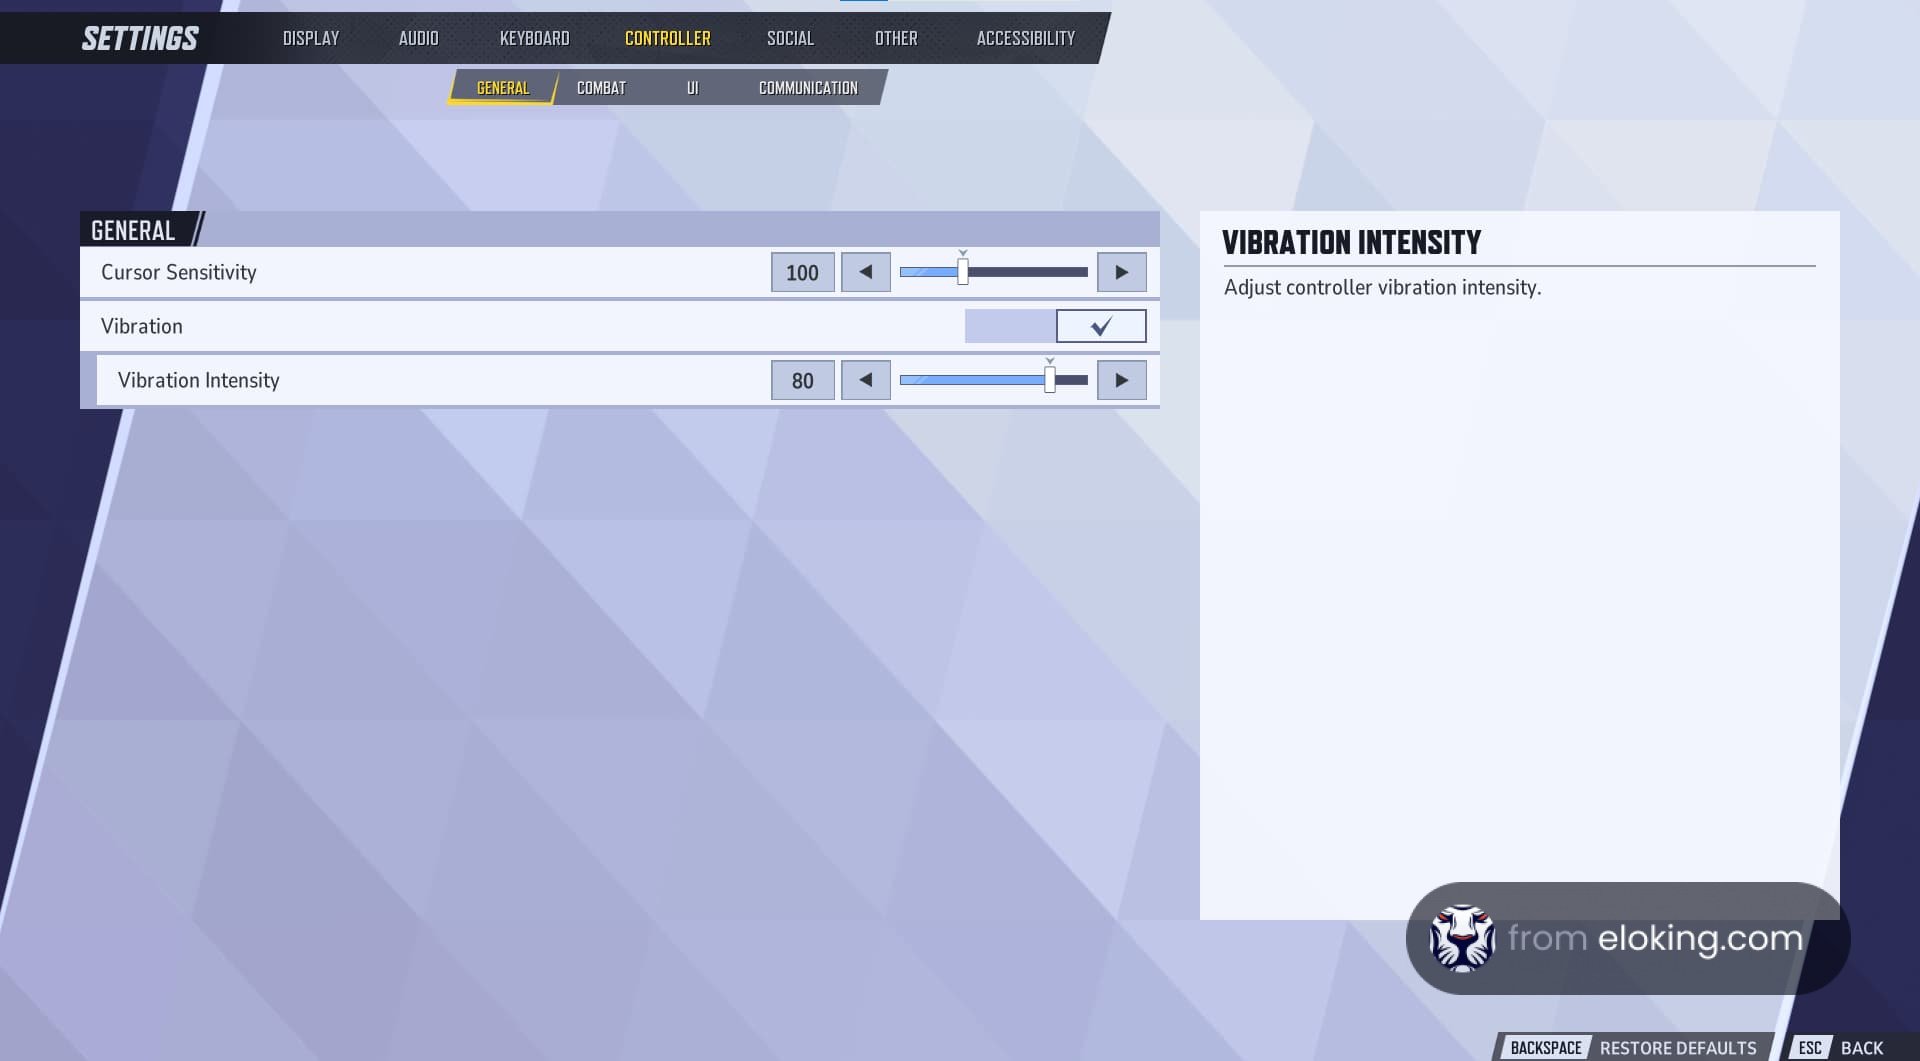
Cursor Sensitivity
Default Use: 130
This sensitivity is perfect for the average player and balances speed and precision. It lets you navigate menus and gameplay smoothly, therefore ideal for predictable input.
Alternative Use: 150
If you find low sensitivity too slow, try 150. This is for players who want faster menu navigation and don't mind higher speeds. It can take time to get used to, especially when transitioning from lower sensitivity.
Vibration and Trigger Effect
Vibration: Off
Trigger Effect: Off
Turning these off is the way to go. While they can add to the immersion, they don't contribute to the actual gameplay, and can even mess with accuracy during crucial moments. The added resistance also slows down actions.
Best Marvel Rivals combat settings for controller
With the general settings out of the way, it’s time to go through combat settings, which players will likely want to tweak more. These settings include stick sensitivity, aim sensitivity curve, and more settings that determine how accurate players are during matches of Marvel Rivals.
It’s important to keep in mind that Marvel Rivals has multiple playable characters. Some require players to aim more like Hawkeye, while others don’t require much aiming, like Scarlet Witch. Therefore, it may be a good idea to personalize the settings of every hero you usually play to ensure they’re suited for individual characters.
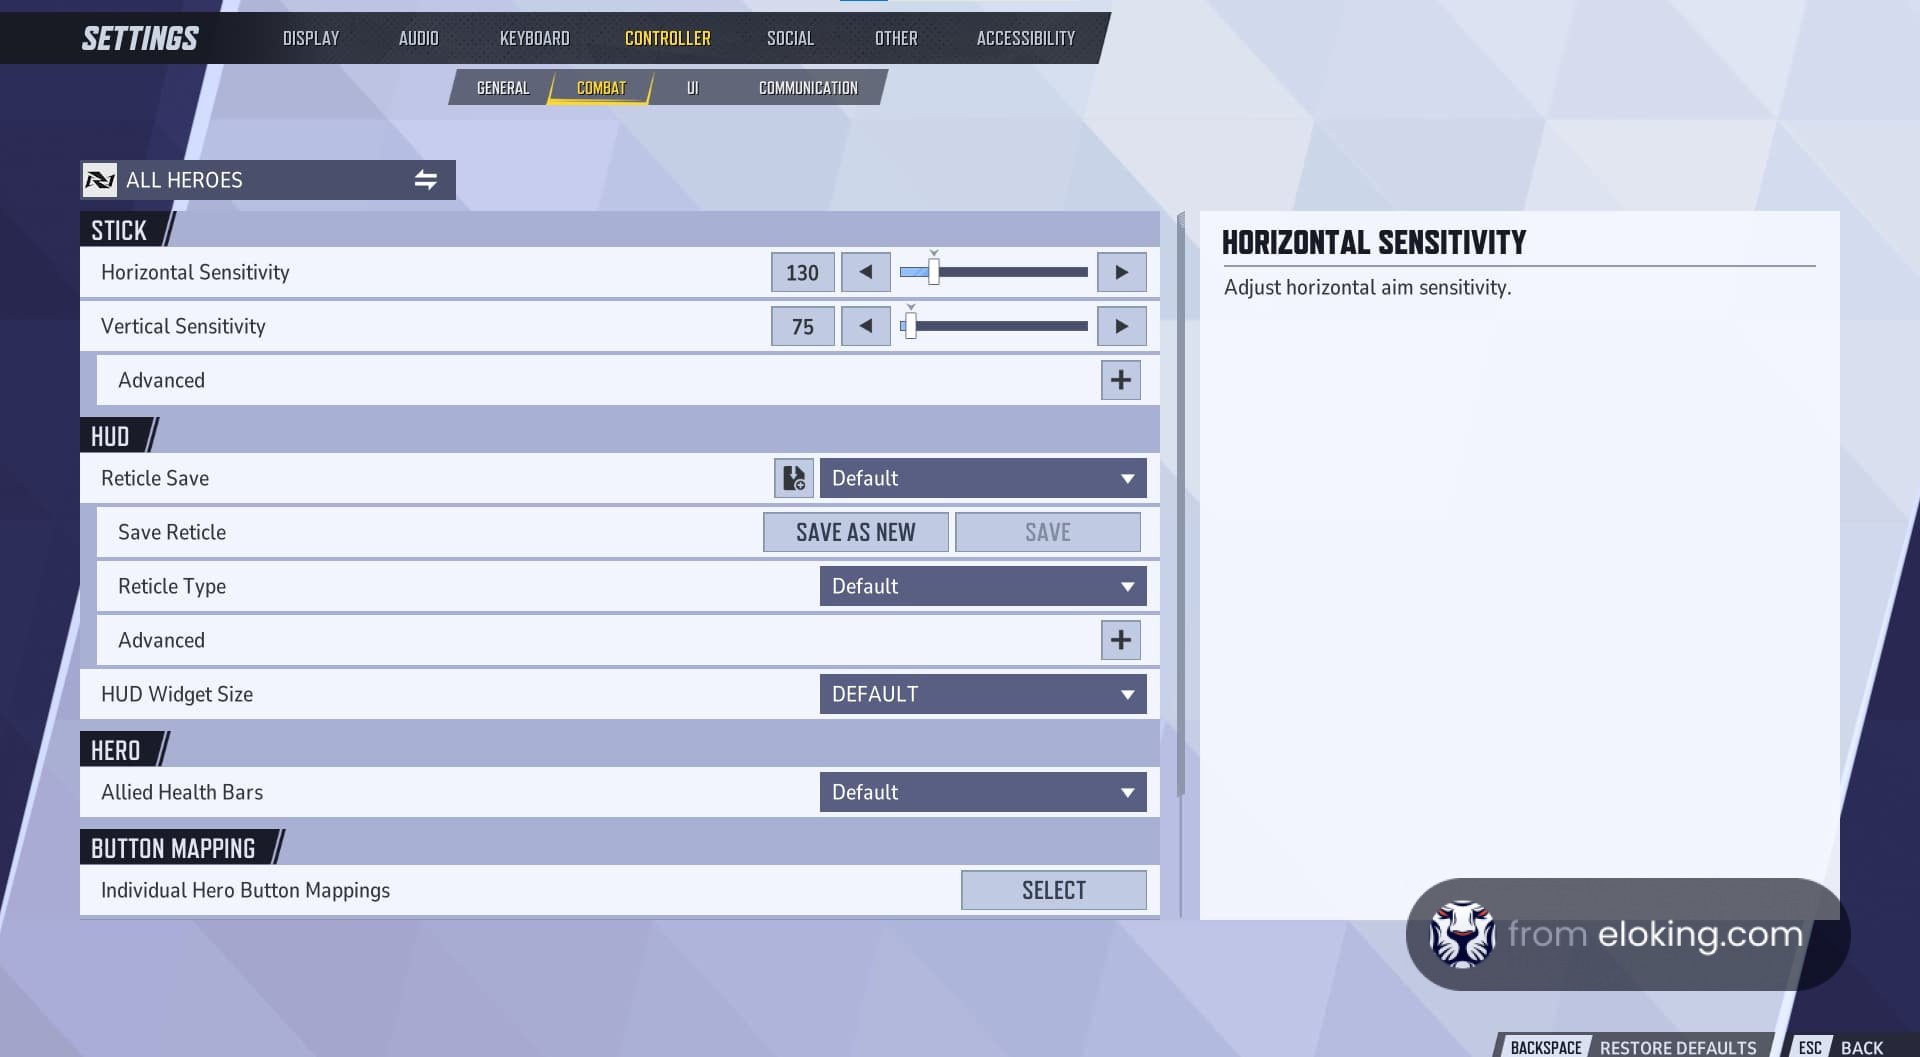
Stick Sensitivity
Default Use:
Horizontal Sensitivity: 180
Vertical Sensitivity: 100
These offer quick reaction times for horizontal movements while maintaining control over vertical sight. These settings are often recommended for beginners.
Advanced Use:
Horizontal Sensitivity: 200
Vertical Sensitivity: 120
This is perfect if you’ve mastered fine aiming and stick control, and it allows you to make quick adjustments. These shine in melee or short-range fights where speed is critical.
Aim Sensitivity Curve Type
Linear Curve (default): Provides a consistent and predictable aim adjustment for most casual players.
Dual-Zone S-Curve: This tweaks response based on stick tilt, like in Overwatch, and offers better accuracy with minor adjustments. However, it has a steeper learning curve so getting comfortable can take time.
Deadzone Settings
Default Use:
Minimum input Deadzone: 1
Maximum Input Deadzone: 1
Max Deadzone Sensitivity Boost: 4
Horizontal Max Deadzone Response Time: 30
If your joystick is free of drift, this setting is ideal without losing accuracy. It also works well for heroes who engage in more horizontal battles than vertical ones.
Alternative Use:
Maximum Input Deadzone: 5
If you have an old controller, this will compensate for stick drift. A larger deadzone can make the experience smoother by avoiding constant correction of random, small movements caused by worn-out controllers.
Aim Assist
Default Settings:
Aim Assist Window Size: 40
Aim Assist Strength: 80
Projectile Heroes Aim Assist Ease In: 80
Hitscan Heroes Aim Assist Ease In: 40
Melee heroes Aim Assist Ease In: 0
Go with this if you want a more forgiving and relaxed experience. The high ease will help smooth your shots on moving targets. They provide a good mix of aim assist for casual players.
Alternative Use:
Aim Assist Strength: 90
Ease In: 60
Increasing these is helpful for players who struggle with aim and need extra help with targeting.
Aim Assist Strength: 65
Lower the strength to 65 if it locks onto unintended targets. Pro players with good aim often prefer lower aim assist.
Miscellaneous
Swap Left and Right Sticks: Off
Invert Horizontal/Vertical Look: Off
Unless you’re used to inverted controls, go with the default settings.
HUD Settings
Reticle Customization:
Default Use:
Reticle Type: Crosshairs
Width: 10
Opacity: 100
Outline Width: 50
Outline Opacity: 100
Center Gap: 33
Crosshair Length: 33
Color: White
These are well-balanced for the average player. The reticle settings are clear and easy to track. They provide good visibility and accuracy and work in open and complex environments.
Alternative Use:
Reticle Type: Dot
Color: Bright green
If you prefer accuracy over all else, go for this. The reticle dot gives pinpoint focus and reduces screen clutter in high-intensity moments. The bright green will contrast well in various environments and lets you track your aim without blending in with your surroundings.
HUD Widget Size:
Default: Maintain standard size unless specific tweaks are required.
Compact: Reduces widget size for less screen clutter and improves focus.
Hero Settings
Allied Health Bars: On
Keep this on to track teammates and adjust strategies quickly.
Pro players often use a cursor sensitivity of 130, vibration off, trigger effect off, horizontal sensitivity of 180, and vertical sensitivity of 100 for a balance of speed and precision.
Start with 180 horizontal and 100 vertical sensitivity for quick reactions and controlled vertical aim. Advanced players can try 200 horizontal and 120 vertical for faster adjustments.
The Linear Curve is consistent and predictable, good for casual players. The Dual-Zone S-Curve offers better accuracy with minor adjustments but has a steeper learning curve.
A good starting point is Aim Assist Window Size 40, Aim Assist Strength 80, Projectile Heroes Ease In 80, Hitscan Heroes Ease In 40, and Melee Heroes Ease In 0. Adjust strength if you're locking onto the wrong targets.
Yes, turn vibration off. It doesn't improve gameplay and can negatively impact accuracy in crucial moments. The same goes for trigger effects, turning them off is recommended.
What’s next?
Now that you have learned something new - it’s time you start playing and get better. Choose a game to purchase Eloking Boost for.
Purchase ELO Boost at Eloking
and start playing at the rank you deserve!