TL;DR: Summit rewards timing and map control more than raw aim: win Mid Fountain, track wall activations, and use smokes to deny rotations rather than simply hiding site hits. The best comps pair controllers, initiators, sentinels, and duelists to control chokepoints, protect flanks, and set up cleaner splits.
One missed smoke on Summit can turn a winning round into a collapse in seconds. The map's tight lanes, brutal elevation changes, and dangerous choke points punish even small mistakes, and the wrong agent comp can leave your team blind before the fight even starts.
That's why Summit demands more than raw aim: you need the right agents, the right callouts, and smoke placements that actually control the map instead of just filling space. The difference between taking control and getting stuck on the back foot comes down to a few key decisions - so where do the real pressure points hide?
What makes Summit different from every other VALORANT map?
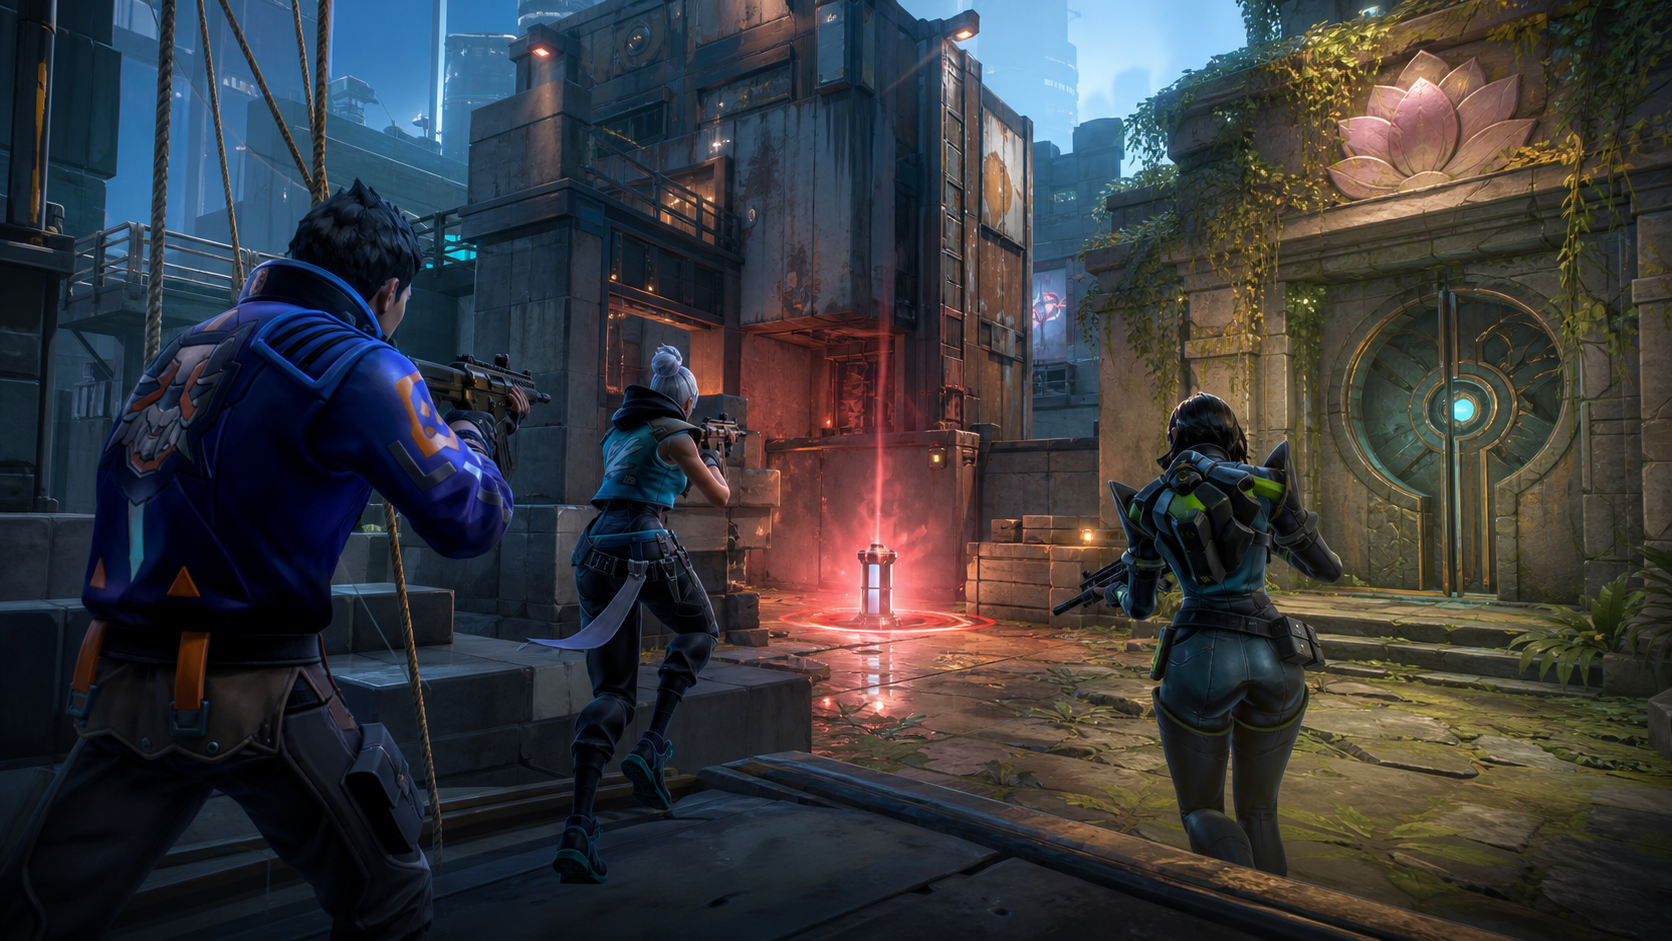
Summit arrived on June 23, 2026, with Patch 13.00, introducing a 2-week ranked protection window where RR losses are reduced by 50%. Set in a Radiant training academy in China, the map uses a three-lane, two-site layout defined by its reactive environment.
Reactive Wall Mechanics
The map's signature feature is three droppable walls that permanently reshape the round. These are triggered by shooting switch panels or using high-damage utility like Sova's Shock Dart or Raze's Showstopper. Once activated, a wall closes its route for the remainder of the round, instantly altering rotation paths and sightlines. Standing directly under a wall when it drops is fatal.
Map Layout Breakdown
- A Site: A standard site accessed via A Main and A Lobby. It features A Garden (a close-angle clearing zone) and A Link, which connects site pressure directly to Mid.
- Mid: The map's heart. Mid Fountain provides central control, while Mid Bend leads toward A and Mid Bottom connects to B. Controlling this area is essential for executing split attacks.
- B Site: Defined by verticality. Attackers enter through B Main, but must account for B Tower, B Gym, and B Trophy - elevated defender positions that oversee the site. A rope ascender and silent drop provide unique movement options here.
Lock these Summit callouts in before queueing ranked
A Site Callouts
- A Lobby & A Main: The primary staging areas for attackers.
- A Garden: A critical close-angle area that must be cleared before planting.
- A Link: The connector between Mid and A Site; vital for rotations and splits.
Mid Callouts
- Mid Fountain: The central control point. Winning this early opens the map for splits.
- Mid Bend: The route connecting Mid Fountain toward A Link.
- Mid Bottom: The path leading toward B Link, often used for lurks and late-round hits.
B Site Callouts
- B Main: The direct entry route for B-side attackers.
- B Tower & B Gym: High-ground defender positions that dominate the site sightlines.
- B Link: The connector between Mid Bottom and B Site.
- Close Box: A common defensive hiding spot near the B entry.
Smoke Summit for the fight you actually want
Smoke B Gym to isolate high ground. On B executes, smoking the Gym/Tower area is mandatory to prevent defenders from raining fire from the elevated site positions.
Smoke A Link to stall rotations. A well-placed smoke here cuts off the Mid-to-A rotate, forcing defenders to take longer paths or push through blind utility.
Audit Mid Fountain first. On attack, use smokes to reach Mid safely. Summit rewards the team that makes Mid Fountain awkward for the opponent before the site hit begins.
The Cypher Camera Trick. On defense, place a Cypher camera on a wall before dropping it. The camera survives the wall activation, creating a hidden information source that allows you to see through the "permanent" barrier.
Verify the wall state. If a droppable wall has already closed a route, do not waste utility smoking that lane. Save your smokes for the active connectors that remain open for the retake.
Pick the Summit comp that matches your side
The best Summit rosters capitalize on the map's shifting geometry. While Sova and Omen remain S-tier staples, your Sentinel choice often dictates how you handle the droppable walls.
| Role |
Attack Priority |
Defense Priority |
| Sentinel |
Cypher: Use Trapwires to catch aggressive Mid lurkers and flankers. |
Sage: The premier defensive pick. Her walls complement the map's droppable walls to completely shut down lanes. |
| Controller |
Omen: Use Paranoia to clear tight corners in A Garden or B Main during entry. |
Viper: Her fuel-based utility is perfect for anchoring sites once a wall has limited the entry paths. |
| Initiator |
Sova/Skye: Essential for clearing elevated B-site angles and finding defenders behind walls. |
Breach/KAY/O: Use flashes and suppressions to disrupt attackers as they funnel into narrow chokepoints. |
| Duelist |
Jett/Neon: High mobility is required to capitalize on wall timings before defenders can adjust. |
Raze: Her grenades can trigger wall switches from safety, trapping attackers in "dead" zones. |
The Summit mistake that keeps costing free rounds
The biggest error on Summit is treating it like a static map. Players often ignore the wall switches until it's too late, or they fail to coordinate the drop with their team's position, effectively locking themselves out of a site.
Attacking Strategy: The Mid-to-B Split
Success on attack usually starts at Mid Fountain. By securing Mid, you can pressure both B Link and A Link simultaneously. A common high-percentage play is the B split: send two players through B Main and three through Mid Bottom/B Link. Use a smoke on B Tower to isolate the site and drop the B-side wall immediately after planting to make the defender's retake route significantly longer.
Defending Strategy: The Vents and Anchor Play
Defenders should prioritize holding B Tower and A Garden. On B, use the verticality to your advantage; a single anchor in Tower can stall an entire push with well-timed utility. Use the map's vents to bounce flashes into A Main from unexpected angles. If the attackers commit to one site, the anchor on the opposite side should shoot the nearest wall switch to force the attackers into a predictable, one-way fight.
Before every round, name the wall you care about and the mid space you want. If your team cannot coordinate these timings, you aren't playing Summit - you're just playing in it.
References
What’s next?
Take your Valorant gameplay to the next level and climb the ranks with ease - buy Valorant boost now!
Purchase Valorant Boost
and start playing at the rank you deserve!
Alternatively, you can Join our Discord Server & participate in various giveaways!
Purchase Valorant Boost Now

















 Quality
