Streamlined three-tier loyalty program where every member enjoys the same high-quality rewards, with benefits escalating at each tier.
Simple yet effective, this program stands as the best deal for Eloking's boosting services, ensuring maximum value and satisfaction for all our users.
Cashback on all Eloking boosts (3%, 5%, 7%)
Discounts for all Eloking boosts (5%, 10%, 15%)
Discount for a friend 🤗
Free daily lootbox spin with industry-leading rewards
Member exclusive season and event offers
How to play Rocket League on a MacBook
h
Hamza Rashid
Gamer
03 Feb 2026
Updated On
Rocket League [1] may be one of the most popular car games out there right now, but it’s easy to forget that the game is owned by Epic Games. Thanks to that, support for platforms that don’t utilize the Windows OS is limited and borderline unavailable. Fortunately, Mac users still have a handful of ways they can play the game.
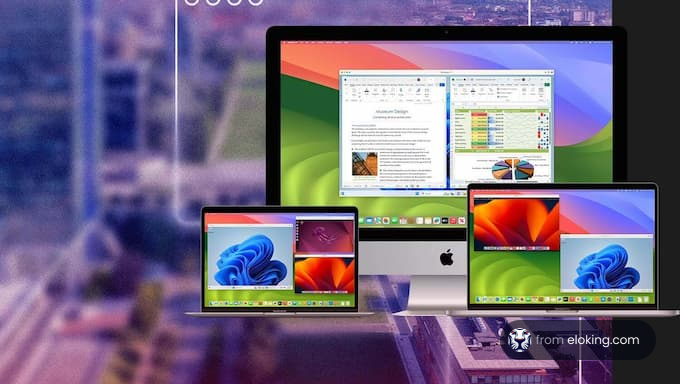
There are two leading ways for players to play Rocket League on their Mac. The first is through Parallels Desktop, while the second is by running Rocket League through Boot Camp. Both methods have different pros and cons, and we’ll go through them all in this article.
So, if you own a Mac and want to play some good old Rocket League, keep reading because we have you covered. Of course, if you want to quickly climb the ranks when the game actually runs, just turn toward Eloking and save yourself the headache of having to play against smurfs who refuse to get out of the lowest ranks.
Play Rocket League with Parallels Desktop
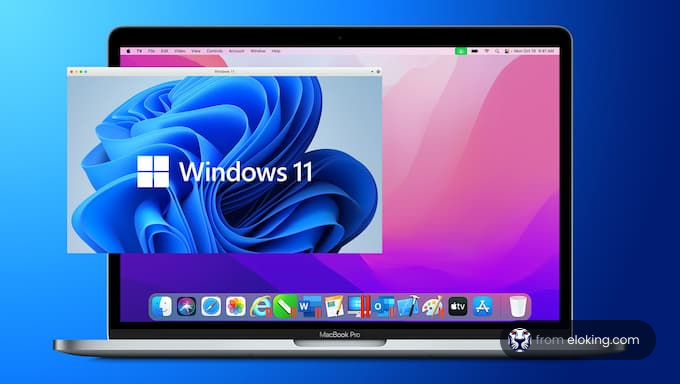
The first way to play Rocket League on Mac is through Parallels Desktop, which is an application that lets Mac users run a virtual Windows environment without requiring a separate PC. It’s also one of the best methods for Mac users who want to play other games like Valorant.
Struggling to win? Bad teammates?
Purchase a game with one of our PRO players.
One game
Average wait time <30 minutes
$4.00
$3.32 per game
Two games
Average wait time <30 minutes
$8.00
$3.00 per game
Three games
Average wait time <30 minutes
$12.00
$2.50 per game
What is Parallels Desktop?
Parallels Desktop is an application that lets you run a virtual Windows environment on your Mac without needing a separate PC. This is perfect for running Windows-only applications or games like Rocket League.
How to install Parallels Desktop on your Mac
Download the most recent version of Parallels Desktop from the Parallels website. After that, install Parallels Desktop on your Mac by following the on-screen directions.
Creating a Windows 11 Virtual Machine
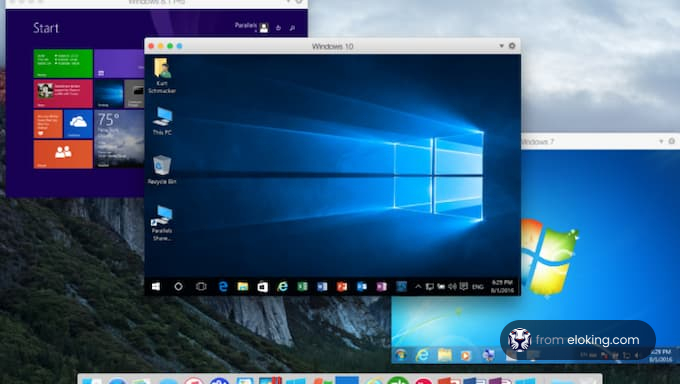
First, open the Parallels Desktop app on your Mac. When it opens, you’ll see an option to create a new virtual machine. Click this option to start setting up your Windows environment.
You can download and install Windows 11 with Parallels' help. However, to fully activate Windows and unlock all its features in your virtual machine, you need a valid Windows 11 license key.
Configuring Virtual Machine Settings
Once you’ve set up your Windows virtual machine, it’s worth changing a few settings to improve your gaming performance. To start, launch the Parallels Desktop Control Center. To access the settings, choose your Windows virtual machine and select the “Hardware” tab.
Make sure your virtual machine has enough resources to function properly if you want the best gaming experience. This means giving it more RAM and CPU cores, which makes games run more smoothly and consistently. Make sure Parallels uses the dedicated graphics card if your Mac has one. Adding on, turn on the Gaming Profile, a feature that automatically increases CPU and memory power to improve performance. It also makes full-screen games look and feel better.
Installing and playing Rocket League
You can download Rocket League just like you would on a standard Windows computer. Find the game on Steam or the Epic Games store, then install it as you normally would. Finally, launch Rocket League from your Windows Virtual Machine and jump right into the game.
Running Rocket League through Boot Camp on your Mac
The second way to play Rocket League on Mac is through Boot Camp, which is a built-in utility on Mac devices that lets users install other OS on their Mac, including Windows.
What is Boot Camp?
Boot Camp is a built-in utility on Mac computers that allows you to install the Microsoft Windows operating system alongside macOS on your MacBook. Through Boot Camp, you can create a separate partition on your hard drive specifically for Windows. This can let you switch between macOS and Windows whenever you need to.
Preparing for installation
Check requirements: Check your MacBook’s storage and ensure it meets the minimum requirements for Windows 10 or 11 beforehand.
Backup data: Backup your important files before partitioning your drive, just to be safe.
Installing Windows using Boot Camp
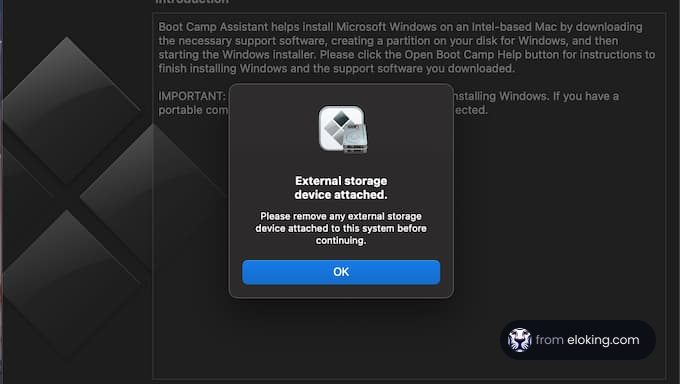
Install Boot Camp: On your Mac, launch the Boot Camp Assistant. To find it, find your way to the Applications folder, then open the Utilities folder. To get started, locate the Boot Camp Assistant app and open it.
Create a partition: To finish the setup, ensure you have a valid license and a Windows installation ISO file, and follow the on-screen directions.
Install Windows: Boot Camp Assistant will walk you through installing Windows on the new partition. Just follow the step-by-step instructions until the installation is finished.
Installing Rocket League
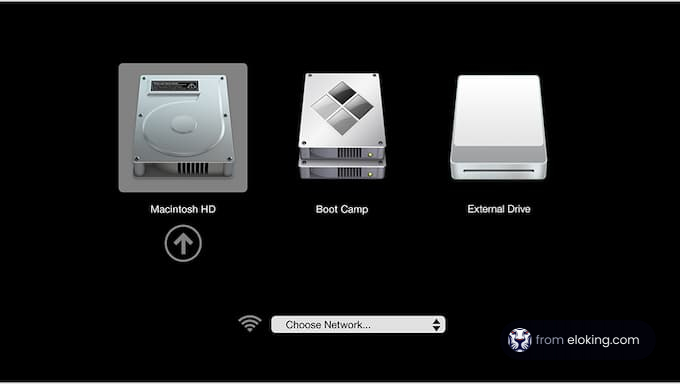
Start Windows: Restart your Mac and hold down the Option key while it boots up. This will let you choose to start from the Windows partition.
Download and install Rocket League: After Windows loads, visit Steam or the Epic Games Store to download Rocket League. Then, just follow the usual steps to install the game.
Yes, you can! The blog post details two main methods: using Parallels Desktop to create a Windows virtual machine, or using Boot Camp to install Windows directly on a separate partition.
You can play Rocket League on a MacBook Air using Parallels Desktop or Boot Camp. Parallels creates a Windows virtual machine, while Boot Camp installs Windows directly. Both have pros and cons.
Rocket League isn't natively supported on macOS. To play, you need to either use Parallels Desktop to run a Windows virtual machine, or use Boot Camp to install Windows on your Mac.
While Rocket League isn't free, Boot Camp is a free utility on Macs that allows you to install Windows. You'll still need a Windows license and to purchase Rocket League.
If using Parallels Desktop, allocate more RAM and CPU cores to the Windows virtual machine. Also, enable the Gaming Profile in Parallels settings. This optimizes performance for full-screen games.
What’s next?
Now that you have learned something new - it’s time you start playing and get better. Choose a game to purchase Eloking Boost for.
Purchase ELO Boost at Eloking
and start playing at the rank you deserve!